Feel free to share on Pinterest. Pinterest is great!

Thursday, January 31, 2019

Skull Kiss Character


I like the look of the long stitches. Feel free to use shorter stitches if that appeals to you.

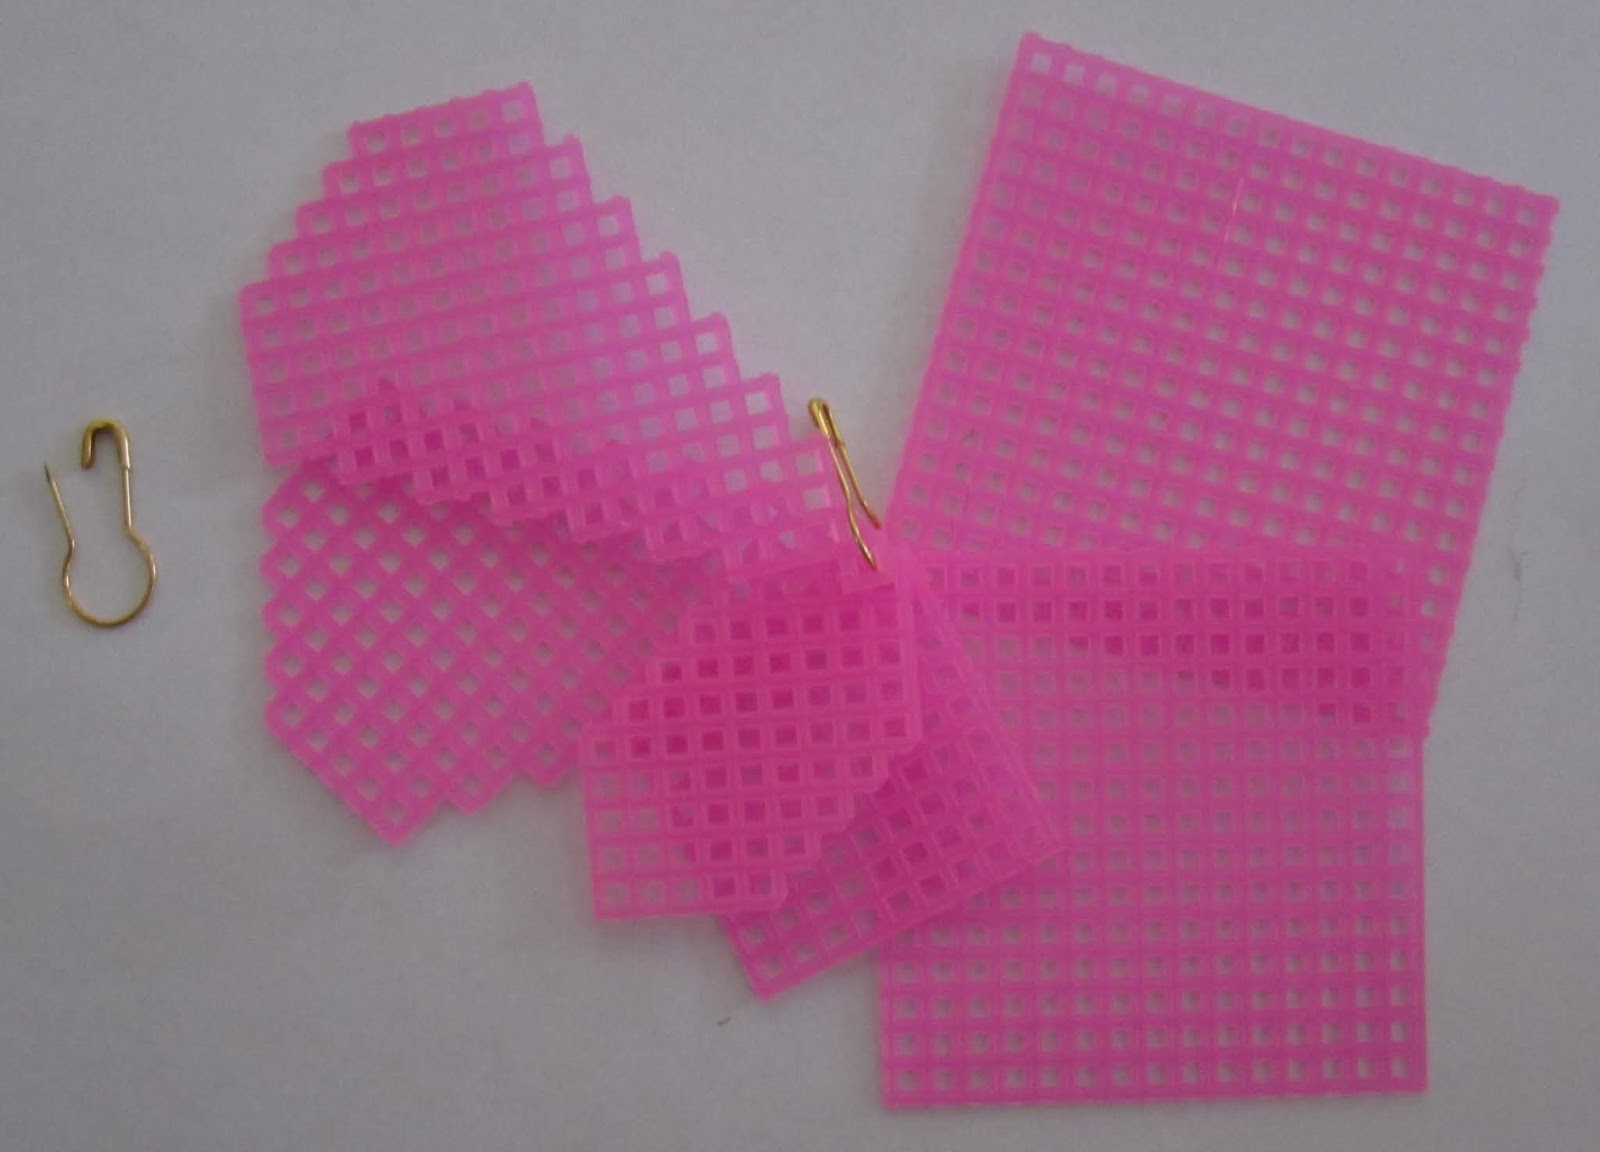
First, cut out the pieces. All are cut from a 10 by 10 hole square.


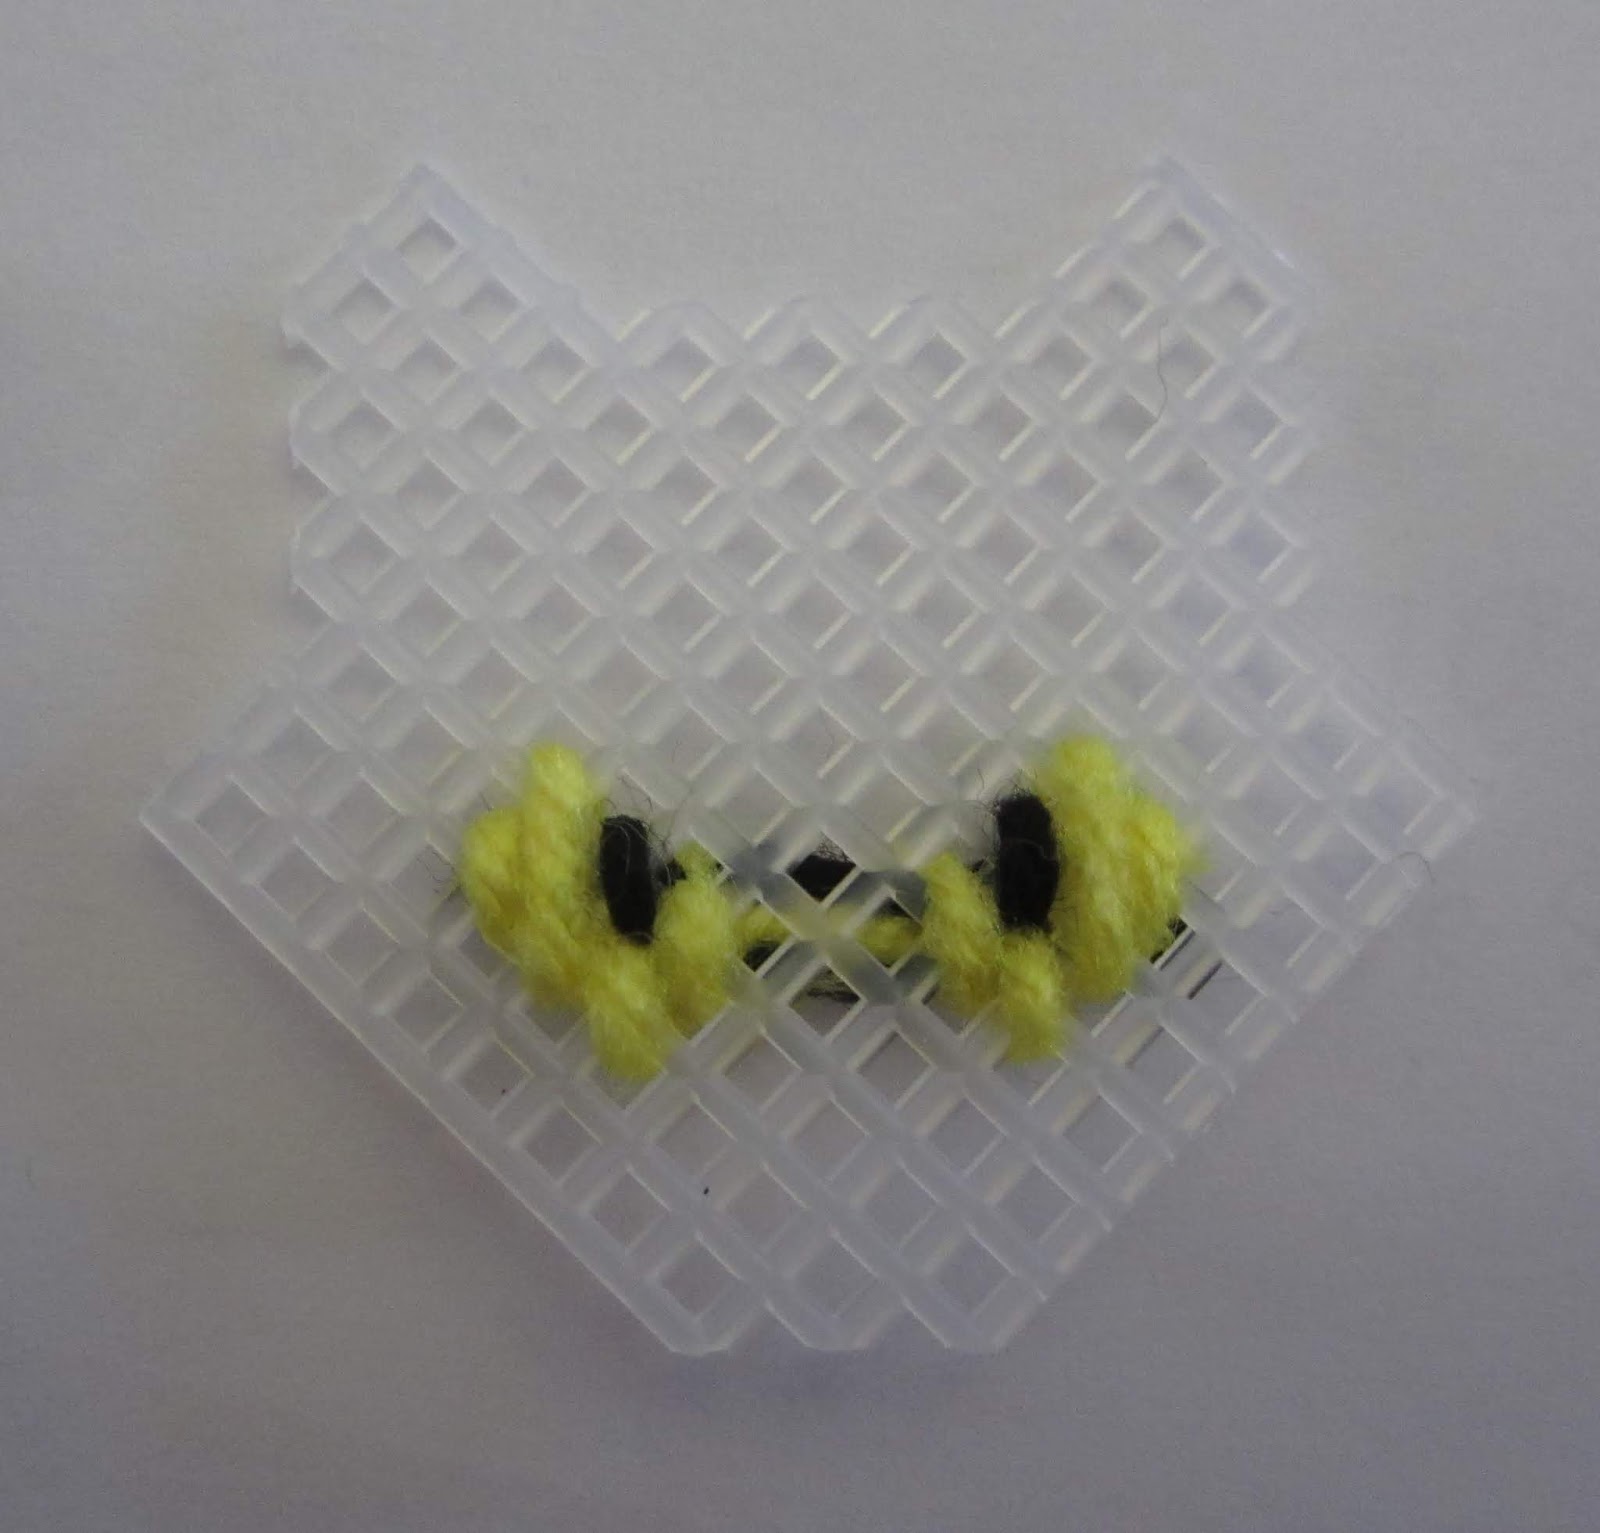
I stitch the black overcast edge and the black portion of the face first. There is one tricky black stitch at the point of the chin that is stitched across, instead of up and down. When the white stitches are done, the white will slide slightly under this black stitch and into it's hole. This is done to round off the chin.


The back and base are done in black. Don't forget to overcast the edge of the base.


Stitch the pieces together and you have a spooky treat holder.


Cat Kiss Character 2

The cat can be made in many different colors.


First, cut out the pieces.


Then Stitch the eyes. If making a black cat, there is no need to stitch the black of the eyes, just fill them in when the rest of the black is stitched.


Stitch the rest of the face and overcast the mouth. If using a color other than black, fill in the front of the ears with light pink or light tan.


Stitch the back. Stitch the ears in the same color used for the rest of the back.

Stitch the base and overcast the mouth edge.

Stitch the three pieces together and you have a cat!


Wednesday, January 30, 2019

Duck Kiss Character

The duck is an easy Kiss Character.


Inspired by Squeezies Designs by Sue Penrod. 

First, cut out the pieces.


Then stitch the bill and eyes.


Fill in the face with your desired color.


Stitch the base to match the top, but no eyes on the base.

Stitch the back and sew the pieces together.


Monday, January 28, 2019

Shamrock and Four Leaf Clover Kiss Characters

The Shamrock and Four Leaf Clover are fairly easy to make. The pieces of canvas are all the same size and only the front is patterned.


First, cut out the pieces. All three are the same size.


Work the front and the front edge.


Then work the back and the base. Overcast two edges of the base.


Stitch it together and done!

Leprechaun Kiss Character


My Lepruchaun was inspired by Lynn Plagman.

The leprechaun is a little more difficult than my other kiss characters. Follow the steps carefully.

First cut out all the pieces.


To stitch the face, start with the top of the hat. Be careful to do the shorter stitches where the buckle will go.


Next stitch the buckle. I weave the yellow ends into the green.


The black hat band is next. stitch across with black, then along the top of the band, also with black.


The bottom of the hat is next in green. The bottom of the hat at the two sides is stitched completely in this step.


Next stitch across the bottom of the black hat band in black.


Stitch the black center of the eyes and then the whites of the eyes.


Do the beard next and then overcast the edge of the face.


Skin is next, don't forget the French knot for the nose. I wrap the needle twice.


Then the bottom edge of the hat with green.


On the back, I did the green first. I did not do the hatband on the back.


Then I did the hair.


Then the straight stitches across the bottom edge of the hat.


I did the base all in orange. I forgot to take a separate picture of it, but here it is.


These are the finished pieces before they are put together.


Friday, January 25, 2019

Christmas Tree Plastic Canvas Kiss Character


The inspiration for this tree is from Mary Maxim 12226 Santa and Tree Candy Holders.

I make templates for patterns I think I may make multiple times. I make the template after I am sure I like the pattern.

The square pieces are the size needed to cut the finished pattern from. I use hot pink for templates to see the contrast easily when I hold the template against the clear canvas to cut it out.


I use pear safety pins to hold all the template pieces for a pattern together. 


I also make a stitched example of each of my pattern pieces. The templates and stitched example pieces are kept together in a Ziploc bag.


The nose of my tree is a French knot with two wraps of the yarn around the needle. The three ornaments on top are also French knots with one wrap.

I like to stitch the mouth edge first, then the eyes, then the main color and the French knots last.