Feel free to share on Pinterest. Pinterest is great!

Wednesday, June 30, 2021

Jack O'Lantern or Pumpkin Kiss Character


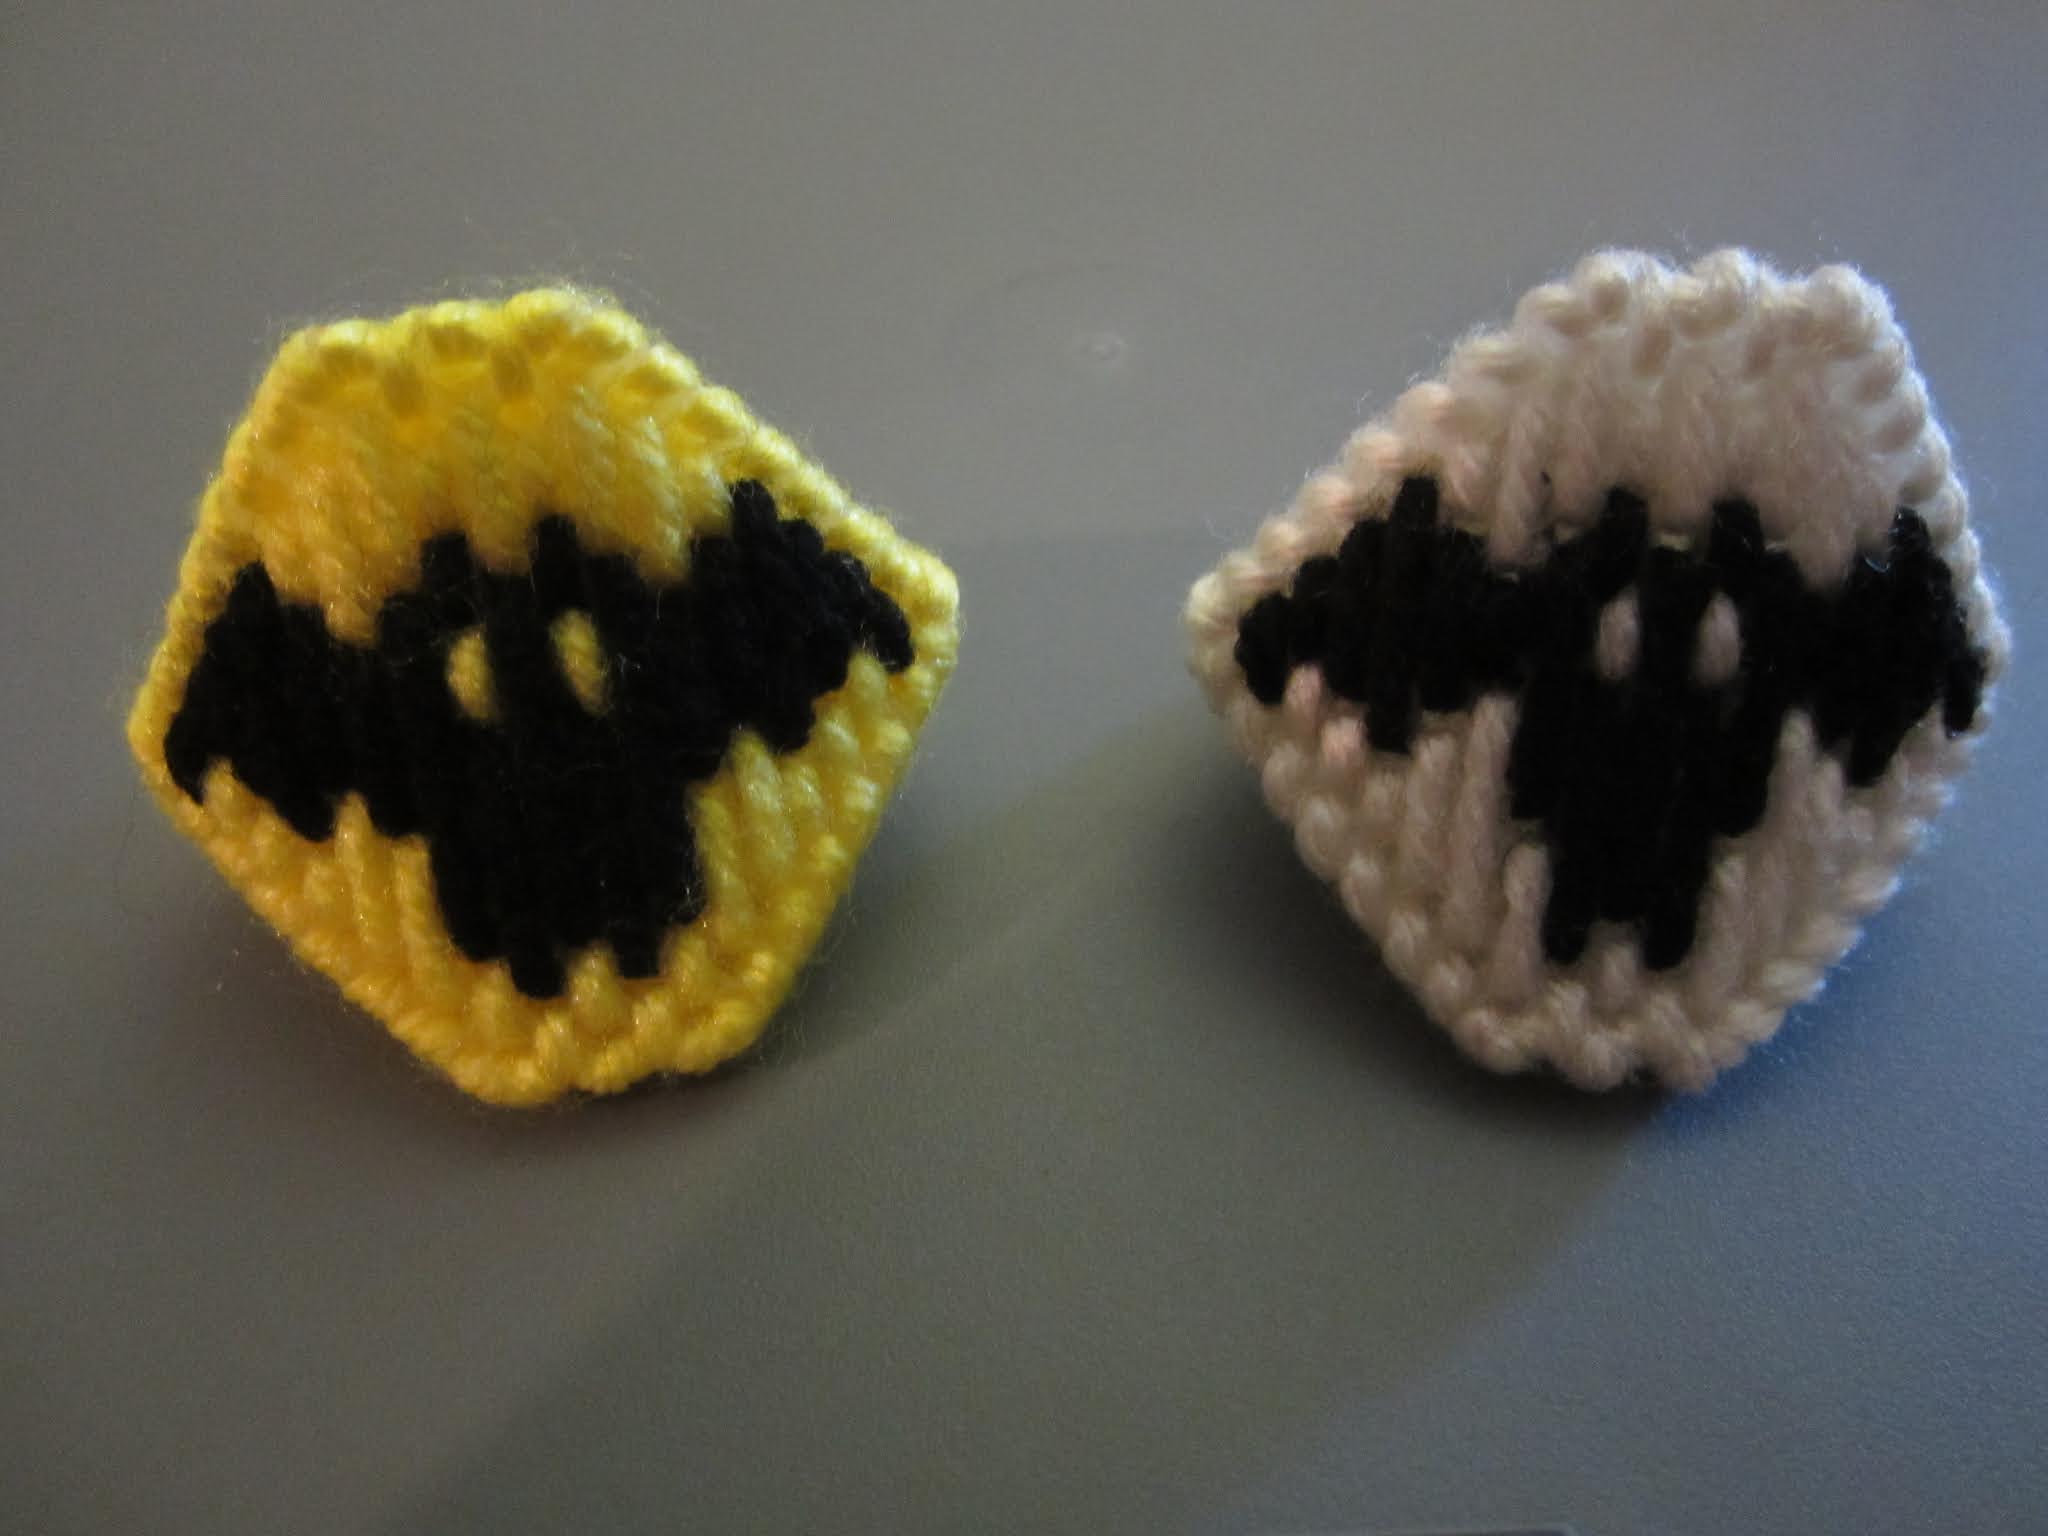
 Cut three pieces of plastic canvas 10 by 10 holes and shape them all as shown on the right.


Stitch as shown. Do the face features first before filling in. If you want a pumpkin, do two pieces like the one on the lower right and don't do the face. Also do the bottom left piece.

For the Jack O'Lantern do the face and both bottom pieces.

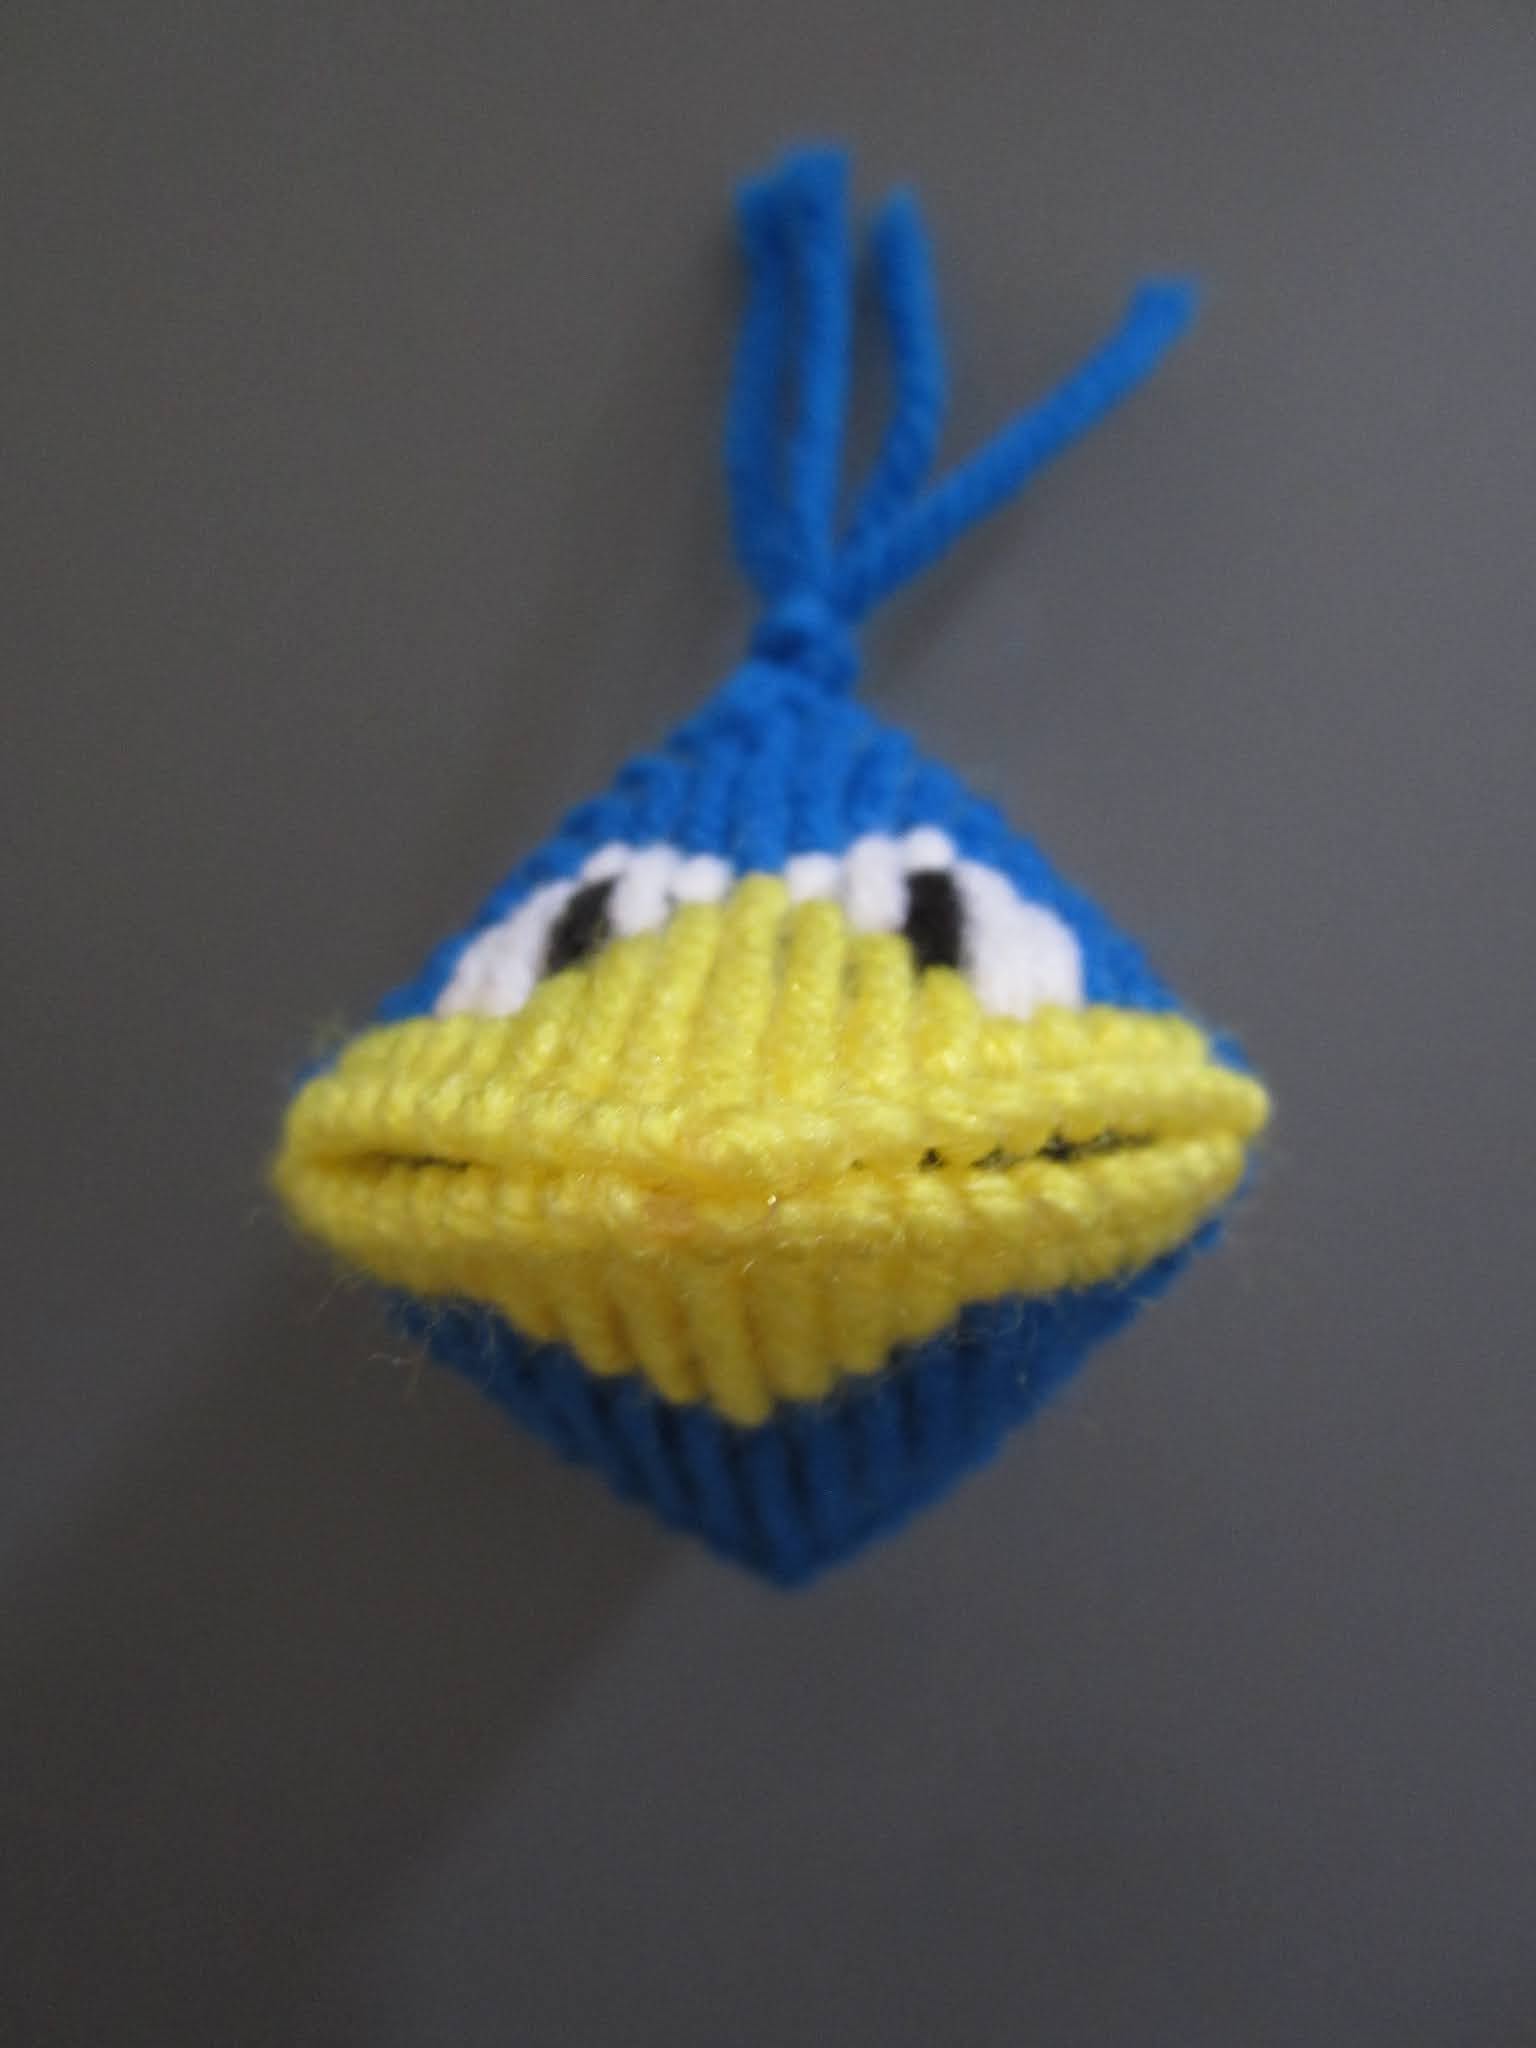
Stitch the three completed pieces togther to make the character.


Snowflake or Star Kiss Character


Cut three pieces 9 by 9 holes from plastic canvas.


Stitch the background first before stitching the Snowflake/Star. The example with just the Snowflake/Star is to clarify placement of stitches. Pay attention in the corners of the background as there aresome single stitches to allow the Snowflake/Star can go on top. When finished stitching the pieces should look like the bottom row. Then stitch the three pieces together to make the Snowflake/Star.


Bat Kiss Character


 Cut three pieces of plastic canvas 10 by 10 holes each and trim all three as shown.


Stich the three pieces like the picture and then stitch them together to make the kiss character.


Heart Kiss Character


My Heart Kiss Character is very similar to this one by Jordantine1 on YouTube.

I like the heart more centered, so adjusted the pattern to suit me.

Cut three pieces of plastic canvas 10 by 10 holes.


Stitch each piece like this, and then stitch the three pieces together to make the Kiss Character.


These are fast to make and before you know it you will have a bowl full!


Tuesday, June 29, 2021

Monster Kiss Character 2

 After making dozens of monsters like this, I decided I liked them better in a slightly different shape. Scroll down to see.


Cut three pieces of plastic canvas 10 by 10 holes.


Stitch pieces as shown and then stitch together to form the monster.


Alternate cut pattern for monster.


Cut all three pieces the same and stitch as for original monster. The finished monster looks like this.


Bald Eagle Kiss Character


The Bald Eagle Kiss Character uses the Hokie Bird pattern by Vicky Sawyer.

Cut two pieces of plastic canvas 12 by 12 holes and one piece 10 by 10 holes.


Stitch pieces as shown paying attention to the short stitches around the eyes.


Ninja Turtle Kiss Characters


Cut three pieces of plastic canvas 10 by 10 holes. Cut all three pieces as shown.


Stitch the front and back of the head like this. The black, white and green stitches are up and down. All the blue stitches are side to side.


Stitch the bottom like this.


Stitch the 3 pieces together and cut a piece of yarn or ribbon to attach to the side of the head for the ties on the bandana around the eyes.


Turtles traditionally wear blue, purple, red and orange bandanas. 


Cow Kiss Character


Cut one piece of plastic canvas 18 by 24 holes and two pieces 13 by 13 holes. Cut the pieces as shown.


Stitch the pieces like this. 


Change the look by using different colors and stitch patterns.


Monday, June 28, 2021

Alien Kiss Character


 Cut three pieces of plastic 10 holes by 10 holes. Leave one as is for the bottom and cut the other two like the piece on the right for the front and back of the head.


Stitch the front like below. Pay attention to the placement of the stitches between the eyes next to the inside bottom of the eyes. Doing them this way makes a subtle nose. 


All three pieces should look like below when stitched.


Stitch the front and back of the head together and then the bottom to make the Kiss Character.


Frog Kiss Character


Cut three pieces of plastic canvas 10 holes by 10 holes like the top left. Trim two of them like the top right to make the front and back of the head. Trim one piece like the bottom.. 


Stitch like the pieces shown, then stitch the three pieces together to make the kiss character. Scroll down for a more detailed frog.


Want more details on your frog? How about spots on it's back, a throat patch and feet!


Stitch the spots first and then fill in around them. On the bottom piece stitch the throat area and then fill in around the mouth and all the little stitches. Do the feet last.


Sunday, June 27, 2021

Bird Kiss Character 1


Cut three pieces of plastic canvas 10 by 10 holes each.

Stitch lower and upper beak and eyes like this. Overcast edges of beak.


Stitch back piece in main color and finish stitching top and bottom pieces of head. Use long piece left over from stitching top of head to sew the three peices together. Use leftover length of yarn to tie a topknot at the top of the birds head.

Yarn lengths for bird:

Eyes - I make several at a time, so just cut a long length of black and white for the eyes and keep stitching until it is used up.

Beak - 48" will do both the top and bottom of the beak, including the overcast edges.

Back - 38"

Bottom - 24"

Top - 48" will do the top with enough left to stitch the pieces together and make the topknot.